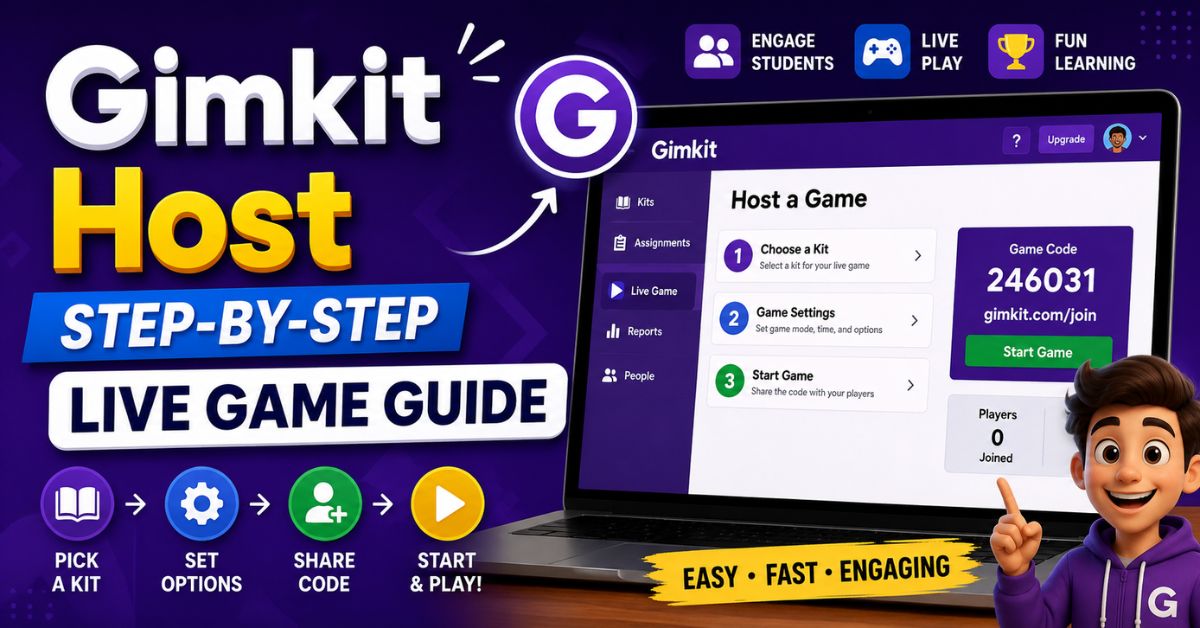
A Gimkit host controls a live Gimkit game from setup to finish. Teachers can choose a question set, select a game mode, configure game rules, invite students, and manage the session from the host screen. Gimkit’s current process is straightforward, but understanding the lobby, join options, game settings, and host controls can make classroom sessions much smoother.
The basic workflow is simple: choose a Kit, click Play Live, select a mode, configure the options, share the game with students, and start playing. Once the game begins, the host can monitor players, adjust sound, display the leaderboard, add time in supported modes, or end the session early. This guide explains each step clearly so you can run your first game without guessing.
What Is Gimkit Host?
The term Gimkit host generally refers to the educator who launches and manages a live Gimkit session. Hosting begins from an educator account and gives the teacher control over the Kit being used, game mode, game settings, student entry, and live-game management. Gimkit describes its live hosting workflow as selecting a Kit, choosing a mode, configuring game options, sharing the game code or join link, and starting the game.
Teachers need a Gimkit educator account to create Kits and host games. Students, however, do not generally need individual accounts simply to participate in a live game. Gimkit says student accounts are optional for ordinary live games, although accounts may be needed for features such as Classes, earning XP, and purchasing cosmetics. This makes live hosting practical when teachers want students to enter a session quickly.
Before you begin
- Sign in to an educator account.
- Prepare or select a Kit.
- Make sure students have internet-connected devices.
- Decide which game mode fits the lesson.
- Consider whether late joining should remain enabled.
- Decide whether you want generated or custom nicknames.
How to Host a Live Game on Gimkit
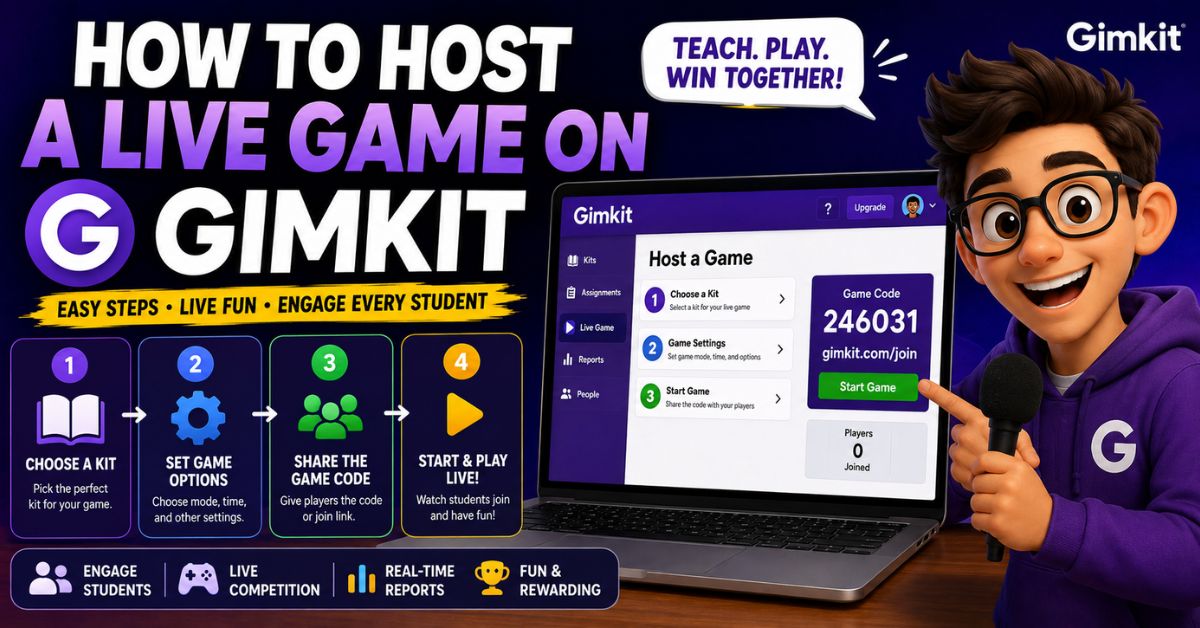
Starting a live session begins on your Gimkit dashboard. Find the Kit you want to use and select the green Play Live option. You can also open an individual Kit and select Play Live from inside it. Gimkit then opens the Mode Picker, where you can browse available game modes and select Learn More if you want additional information before deciding which experience fits your class.
After selecting a game mode, click Continue to reach Game Options. Configure the available settings, click Continue again, and Gimkit will open the lobby containing your game code. Students can then enter the session. Once everyone you expect is present, select Start Game. The button appears in the lower center in 2D modes and in the upper-right area in non-2D modes.
Step-by-step Gimkit host process
- Log in to your educator account.
- Find the Kit you want to play.
- Click Play Live.
- Select a game mode.
- Click Continue.
- Configure your Game Options.
- Click Continue to enter the lobby.
- Share the game code, QR code, or join link.
- Wait for students to enter.
- Click Start Game.
Choosing the Right Gimkit Game Mode and Settings
The Game Options screen is important because settings can change depending on the mode you select. Gimkit currently allows hosts to configure options such as connecting Classes, using the Nickname Generator, selecting game goals, and deciding whether students may join after the session begins. Because available options vary by mode, teachers should review this screen rather than automatically clicking Continue every time.
For classroom management, the Nickname Generator and Join in Late setting deserve particular attention. Gimkit says live games default to allowing students to join late, although that setting can be switched off. Your selected Join in Late preference can also carry over to the next game, so teachers who disable it should remember to check the option before hosting another class.
| Setting | What It Controls | When It Helps |
|---|---|---|
| Nickname Generator | Controls player naming | Reduces inappropriate names |
| Join in Late | Allows entry after starting | Useful for late students |
| Game Goal | Determines how play ends | Helps control lesson pacing |
| Classes | Connects rostered students | Useful for organized classes |
| Mode Options | Mode-specific rules | Customizes the experience |
A practical classroom setup is to check the game goal first, then student naming, followed by late joining. This prevents you from discovering a configuration problem after students are already waiting in the lobby.
How Students Join a Gimkit Host Game
Once the lobby opens, students have several ways to join. Players who are not using Gimkit Classes can visit the Gimkit Join page and enter the code displayed by the host. Gimkit also supports a direct join link. Clicking the game code allows the host to copy a link that can be shared with students, eliminating the need for them to type the code manually.
The QR code works slightly differently from what some older tutorials suggest. The Gimkit host can hover over the displayed game code to reveal a QR code. Students can scan it with a compatible device and enter the session. Moving the pointer away hides the QR code again. Teachers therefore have three practical entry methods: game code, direct link, and QR code.
| Join Method | Student Action | Best Use |
|---|---|---|
| Game code | Enter the displayed code | Standard classroom use |
| QR code | Scan the code | Phones and tablets |
| Join link | Open the shared link | LMS, chat, or digital classroom |
| Classes | Join through rostered access | Established Gimkit classes |
Gimkit Host Controls During a Live Game
In 2D game modes, teachers can choose whether to participate as an active player or remain a spectator. Gimkit places this choice in the lobby, where a toggle lets the host switch between player and spectator before starting. When spectating, the host can move between players and monitor what is happening rather than actively competing in the game.
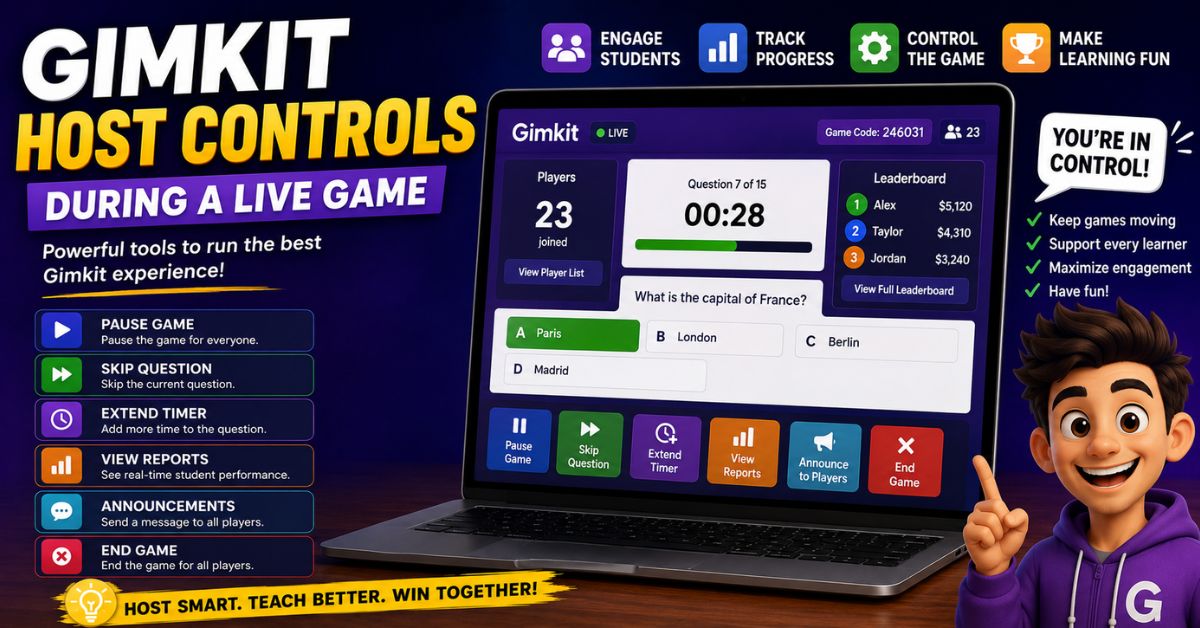
During gameplay, the host interface provides controls for managing the session. Current Gimkit documentation lists controls for the game code, sound, leaderboard, player list, timer, and ending the game early. Hosts can also select a player through the player list to spectate or remove them. These controls make it possible to manage both classroom behavior and game pacing without leaving the live session.
Important host controls
- Game Code: Display it again for students who need to join.
- Sound: Adjust game music and sound effects.
- Leaderboard: Show current standings.
- Players: View, spectate, or remove players.
- Timer: Monitor remaining game time.
- End Game: Stop the session before its normal goal is reached.
For supported 2D sessions, Gimkit also allows hosts to click the game timer to add one minute at a time.
Common Gimkit Host Problems and Quick Fixes
One common problem is a student arriving after the game begins and discovering that entry is unavailable. Before assuming something is broken, check the Join in Late option. Gimkit normally enables late joining by default, but a host can disable it, and the preference can remain saved for future sessions. If students frequently arrive at different times, checking this setting before opening the lobby can prevent unnecessary interruptions.
Player names can create another classroom management issue. Gimkit recommends reviewing names in the lobby, particularly in non-2D games, where hosts can remove inappropriate entries before starting. During supported 2D games, the host can also open the Players control and select a student to spectate or remove them. Using the Nickname Generator during setup can reduce the chance of inappropriate custom names appearing in the first place.
Conclusion
Using Gimkit host tools becomes easy once you understand the basic workflow: select a Kit, click Play Live, choose your game mode, configure the settings, share the game, and start the session. The lobby and live controls then give you the tools needed to manage student participation, sound, leaderboards, timing, and player behavior throughout the activity.
For teachers hosting regularly, the biggest improvement comes from checking the setup instead of rushing through it. Confirm your game goal, Nickname Generator, Join in Late setting, and student list before pressing Start Game. Once those details become routine, the Gimkit host process can fit naturally into review activities, classroom practice, formative assessment, and interactive lessons.